Configure, Modify, Rename,Delete a listener for Oracle 11g database
Steps to configure
listener
When a client like SQL Developer, toad etc. wants
to establish a connection to an Oracle Server, it usually first contacts the listener.
The listener then creates a foreground
process (dedicated
mode) or attaches the request to an existing foreground process (shared mode).
The client then directly communicates with that foreground
process.
A listener can accept requests for more than one
instance. Likewise, more than one listener can accept requests for the same
instance (load balancing).
1.
Open terminal and go to the bin folder under ORACLE_HOME
cd /u01/app/oracle/product/11.2.0/dbhome_1/bin
./netca
2.
Since there are no existing listeners we will get only add listener as
option. Click on Add option and
click next.
3.
Provide the name for the listener (Eg. ORCL, DB11G etc.)
4.
Select the protocol in which the listener will be listening for the
connections.
5.
Select or provide the port in which your listener would be listening
for connections.
6.
Click on Yes for configuring more listeners else click No to continue .
7.
Click Next to exit
Starting a listener
If
the listener is not running, no client can connect to the database as such. So
we need to start the listener which will be listening for client requests.
Ø
Open terminal window and type the following commands to start the
listener
Go to bin folder under
ORACLE_HOME (cd
/u01/app/oracle/product/11.2.0/dbhome_1/bin )
./lsnrctl
Now we will get lsnrctl
prompt .
LSNRCTL>
Here type start to start listener.
Stopping a listener
Ø
Open a terminal window
Goto bin folder under
ORACLE_HOME (cd
/u01/app/oracle/product/11.2.0/dbhome_1/bin )
./lsnrctl
Now we will get lsnrctl
prompt .
LSNRCTL>
Here type stop to stop listener.
Modifying a listener
1.
Open terminal and go to the bin folder under ORACLE_HOME
cd
/u01/app/oracle/product/11.2.0/dbhome_1/bin
./netca
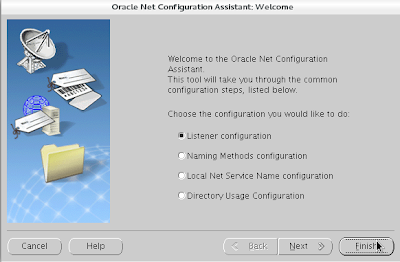
Click Listener configuration
from the options listed.
2.
Click Reconfigure from the
options
3.
Select the listener that is to
be modified from the list shown
4.
Be sure the selected listener is the one that
is to be modified.
5.
Stop the listener before any modification.
6.
Select or change the protocol if necessary .Otherwise press next to
continue.
7.
Change the port number if required and then press next to continue.
8.
Choose No to quit the configuration assistant or Yes to configure
another listener.
9.
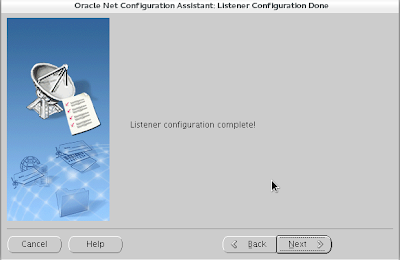
After successful modification, we will get the confirmation. Click
Next to proceed.
10. Click Finish to quit the
configuration assistant or click next to configure or modify or delete another
listener.
Renaming a listener
1.
Open terminal and go to the bin folder under ORACLE_HOME
cd /u01/app/oracle/product/11.2.0/dbhome_1/bin
./netca
Click Listener configuration
from the options listed.
2.
Click Rename option for
renaming the listener.
3.
Choose the correct listener to be renamed from the drop down list.
4.
Check the listener before proceeding
5.
Stop the listener before renaming it.
6.
Rename the listener.
7.
After renaming we will get the confirmation.
8.
Click next to proceed with listener configuration
9.
Click Finish to exit
Deleting a listener
1.
Open terminal and go to the bin folder under ORACLE_HOME
cd
/u01/app/oracle/product/11.2.0/dbhome_1/bin
./netca
Choose Listener Configuration from the options
displayed.
2.
Select Delete option to
continue deleting the listener.
3.
Now choose the listener which is to be deleted from the drop down
list.
4.
Make sure the right listener is selected.
5.
Provide confirmation to stop the listener which is already running.
6.
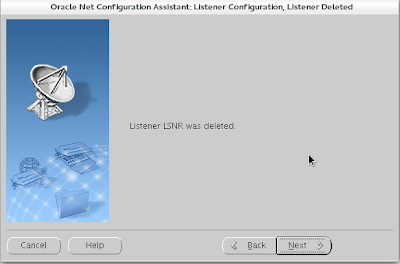
After successful deletion we will get the confirmation. Click Next to
proceed.
7.
Click Next to exit listener configuration.
8.
Click Finish to exit from the net configuration assistant wizard.


I like
ReplyDeletegood easy steps
ReplyDeleteGreat tutorial, easy to follow
ReplyDelete